Monday, July 26, 2010

Wakefield Willys Update 3.11

What a beautiful day in NH. The kinda days to work outside on a Willys.

Finally got the snowplow assembly off! Whoo Hoo!!! Thanks to the Master Mechanic's advice to pick up an air tool set at Lowe's, I got the last bolt off and the snow ploy assembly dropped to the ground.

This was important, as it is in the way, and kept me from getting to the frame to clean it up and paint it. Plus it made it difficult to use a jack to lift up the front axle.

With the plow assembly off, Drew and I started wirebrushing the frame and cleaning the firewall. Painted the firewall and painted the frame up to the front cross member. All in all a good day, and making progress on the front end. Pretty soon all we will have to do is the engine work! We are nearing the finish line on the front end restoration.

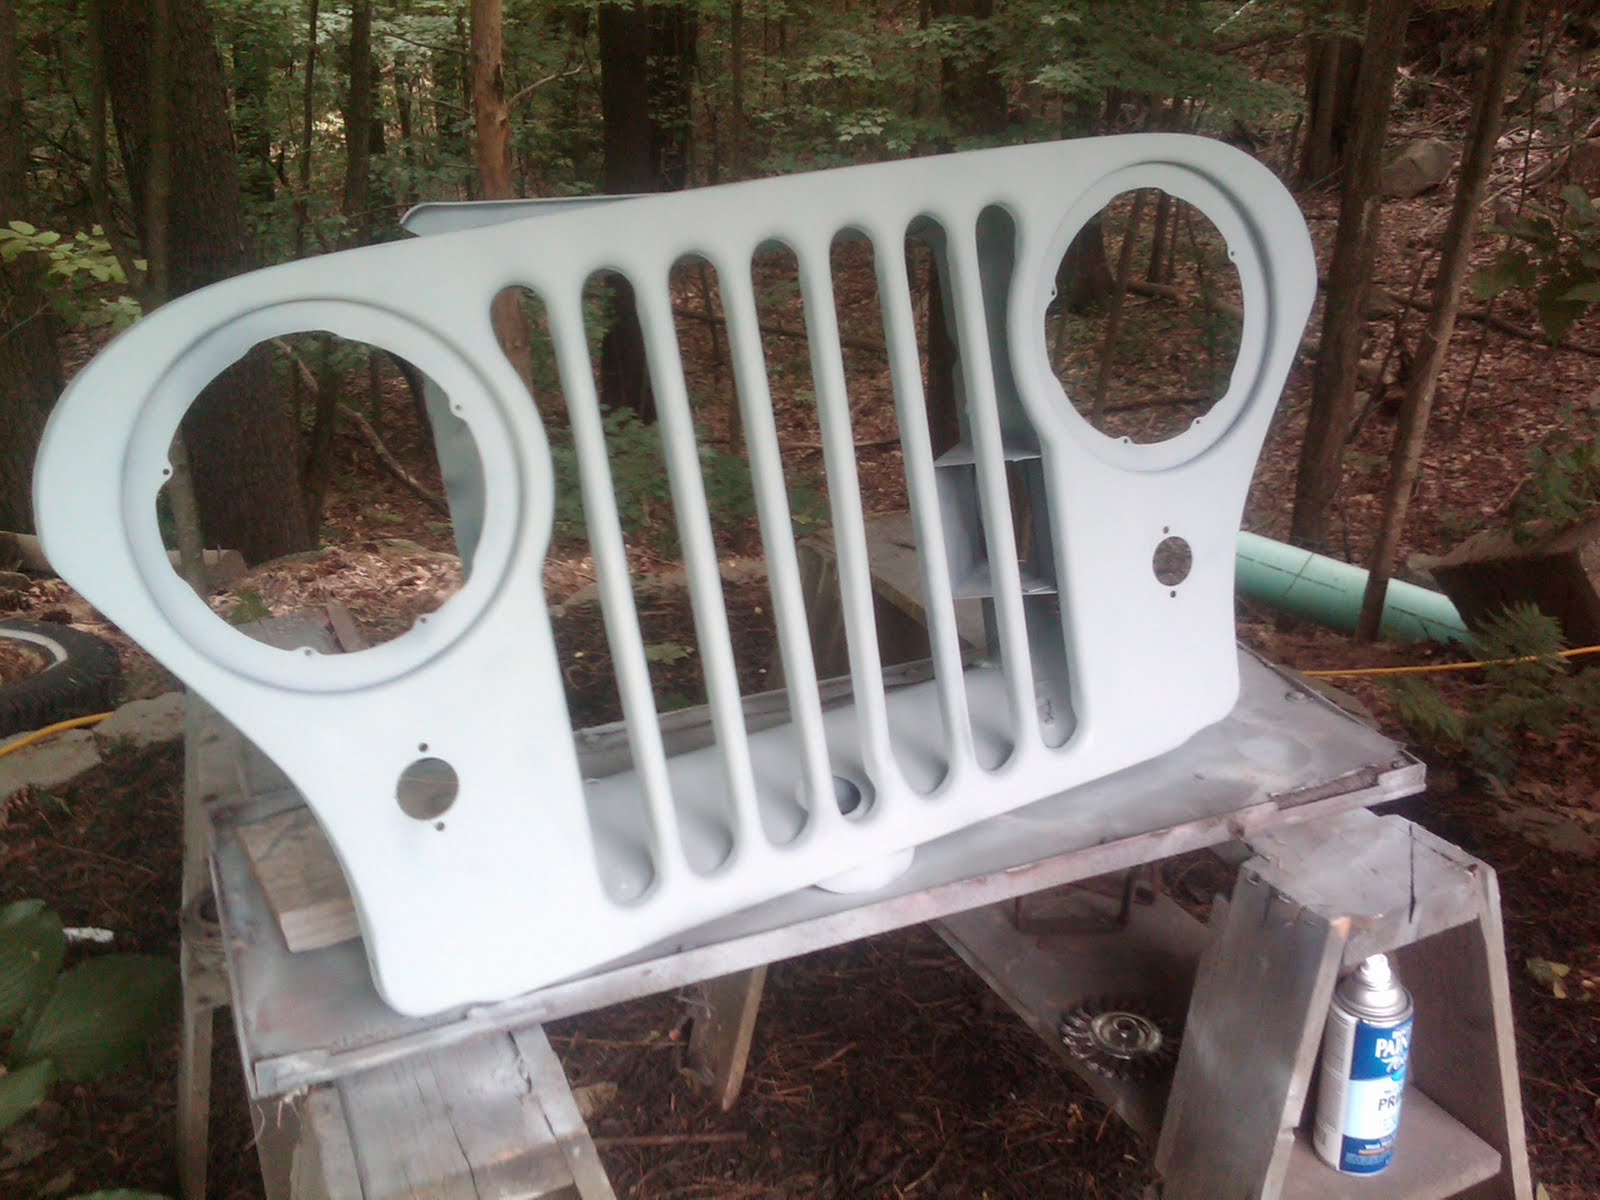
Pictured is the newly painted grill in natural sunlight. Looks better out of the tent, and gives a good indicator of what the front end will look like all painted up.

Friday, July 23, 2010

Painting (Day 3)

No pictures, as the body parts look virtually the same, red and shiney. All body parts are painted, and now drying in the shelter while it rains outside. Not the best weather to paint, but we have time on our side to let them dry and cure. I don't anticipate reassembling the front end for at least a month. There is engine work and a few other items to clean up before we begin the process of putting the front end back together.

Can't wait to see it all put back together.


Thursday, July 22, 2010

Painting (Day 2)

Summary: It went better than yesterday. Had a few hiccups but over all it was fine. 3 coats on and then we will flip them over and do 3 coats tomorrow. Lots of work, but overall very satisfying.

2 pointers for others wanting to paint with a HVLP sprayer. First, keep an eye on the air hose, easily gets tangled and can be in the way.

Secondly, and I don't know if this is unique to my sprayer, but I will mention it. First application the paint started to slow down. After loosing the lid and letting air in, the paint flow improved. I realized that keeping the lid loose on the HVLP sprayer kept the paint flowing.

Overall, a good day. One more day to go!


Wednesday, July 21, 2010

Painting (Day 1)

In summary, it did not go well. The HVLP Sprayer clogged, air flow was terrible, and it took forever to paint the parts. Plus, it was HOT.

That is the bad news, now the good. I made the necessary changes to fix the air flow, and cleaned the HVLP Sprayer thoroughly, which meant taking it apart. And the parts are in the end, painted and ready to go.

So tomorrow I think it will go much better. I ran some tests, and it seems like a much better setup. I am actually looking forward to giving it a try tomorrow.

Tuesday, July 20, 2010

HVLP Sprayer Set Up, getting ready to paint

As you might gather from previous posts, I have been a little nervous about painting. That is mainly because I have never used a HVLP Sprayer.

After reading the manual again, I think I am ready. What you see it the picture is the HVLP Sprayer, Air Regulator and a Desiccant filter. It is the second filter in the air line to keep water from getting to the sprayer. That with low humidity the next few days we should be okay.

Painting will begin tomorrow with a special primer, to be followed with the first coats of paint. The paint shop is almost set up, I will take picts when it is ready.

In the line up are the 2 fenders, tailgate, grille and hood.

The hood has been sitting a long time, so it will need some cleaning. Check the blog, there is going to be some freshly painted parts!

Jeep Icon is primed

Of all the body parts on the Willys Jeep, nothing is more associated with the look of a Jeep than the Grille.

I have met folks who collect these, the grilles. They have evolved quite a bit and you can notice the differences to the well trained eye. Of the 3 I have, this one has a slight variation. An intake box inside the grille on the driver's side.

This concludes the restoration of the major front end body parts. The grille, the fenders, hood are all ready to be painted. Getting nervous, I want this to come out nice.

I am far from getting the body work done, but this could be considered a milestone. The angle grinder's contribution will be less now that these parts have been cleaned and primed.

Sunday, July 18, 2010

Wakefield Willys Report 3.10

Body Work

So after the hefty bill at the restoration clinic, I need to do more of the work myself.

The last body piece that needs to be restored, is the grille. Probably the most challenging piece, and difficult to work on. The best for last!

Anyhow, I have 3 grilles, and settled on one to restore. All of them had imperfections, just the nature of parts that are 50+ years old.

In the picture is a technique I learned by watching a video by "Expert Village" I like their tutorials, and I thought this was clever.

Say you have a bad seam or rust holes. Take a piece of copper and clamp it to the finished side and weld the other side along the seam or hole. This will result in the weld to fill the seam but not bond with the copper. I remove the copper, and the finished side looks filled in, nice and smooth. Very cool, and very easy to do.

The picture is before I started welding, you can see the seam and the copper.

Finished the seam and the holes on the grille. Some more wire brushing and we will be ready to prime.

Inching closer to painting.

Thursday, July 15, 2010

They have returned

So I finally picked up the fenders and tailgate at RMR Restorations. I spent way more $$$$ than I was planning, which was discouraging. But they are done, and ready for the next step, prep for painting.

Here are 2 of the body parts, previously sand blasted, and now polished by the wirebush attachment and the grinder.


Saturday, July 3, 2010

First of many "Tub" repairs

This will probably be the only time I document this process from beginning to end. Too many steps, and too many pictures, as you can see.

For those who are not familiar with the term, the "Tub" is the large body piece that is the entire back end of the Willys Jeep. From the Firewall to the Tailgate, is all one piece. Finding a Tub in great shape is near impossible, so repairs are common. I have many many many little repairs all over the "Tub". This is my first attempt and I am thankful to be near the finish line.

So here is how this develops.

1. Find a bad spot, see if from the "parts jeep" there is a fix using it's "tub". Fortunately for me, I had a panel I could use.

2. Wirebrush the newly cut panel, and unfortunately found some holes in it. And the metal bracket behind was beyond repair.

3. Fabricated a new metal bracket and welded it to the panel. First time for me to have actually welded something and it not be practice. I think I did okay.

4. Grind down the weld spots, and use bondo to smooth out the panel.

5. Prime the panel, (not pictured) and get ready to install.

The installation will be handled in a separate post. A lot of work, but needs to be done. Can not move forward with out repairing the tub in this location. It comes in contact with the fenders, and that has to be repaired before putting them on.

Enjoy!


Wakefield Willys Update 3.9

Given my busy schedule next week, I decided to make the most of a beautiful Saturday in Nashua.

Body Work
Cleaned up the front of the "Tub" on the passenger side around the fake battery compartment. Primed it and ready for paint tomorrow or whenever I get to it.

From the picture it should be obvious, we removed the grille today and separated it from the radiator and frame. Looks good, but I see some more body work I was not expecting. Hopefully nothing serious...... famous last words.

Cleaned up the grill mounts, primed them.

I also have a small side project that is a repair for the "tub". Separate post is coming.

Overall a very very good day, lots done. The frame looks very good in the front, glad to see that up close.